Showing posts with label crafts. Show all posts

Wednesday, May 14, 2014

DIY Wedding Card Box

Weddings are expensive. It's one thing to say the average wedding costs $35k. It's another to live it. (Tho trust me, my budget is nowhere near that!)

Today we are going to explore an alternative.

Wedding card boxes are expensive. Whether you are looking at a traditional card box, wire bird cage, or something in-between... it's going to be $20 minimum for a 'nice' style. However, you can get something cheap- and cheap looking- for less than $10.

NO MORE I say! If you have a little time to spare and are crafty, you can get something way more unique and cheaper! Because I'm a DIY craft junkie, the only real out of pocket expense for me was the box itself. I could have stopped there, but why?!

Worst case scenario this is going to cost $20, for me it was just over $10 and took maybe an hour to do.

Materials:

-Large fake book storage box: at Michael's 40% off plus an additional 25% off coupon= less than $8!
-Hemp Twine- or string or whatever you have
-Scrapbook paper- if you don't have any laying around, look for alternatives (think of your theme-comic books maybe? or Michael's has specials all the time)
-Template
-Pencil
-Scissors
-Misc. embellishments- optional
-Di-cut Shiny Red Damask letters- previously purchased ~$3 (I've been holding onto these for the perfect wedding craft so I am including the cost here) or if you have a Kricut or something you could make your own

I don't want to spoil too much, so here is the incomplete card box!

The outside- fits our "Adventure theme" and colors.

Nice and roomy on the inside! Dare I say- BIGGER on the inside?

 The materials.

 The layout.- All I did was trace a template on the side of the scrapbook paper I didn't want to use (this way messy lines won't show) and cut 'em out. Then, hole punched two corners on each for my twine to string them up inside the book.

Not done, but you get the idea. The black/gold things in the corners are picture corners. I'm planning on hiding the end of the string with them. I also need to add the di-cut letters to spell out  C A R D S.


BONUS: the fiance loved the idea and picked out the book to use.Teamwork and collaboration.

So tell me- what crafty projects are you up to?! (Doesn't have to be wedding related!)

Wednesday, March 26, 2014

Simple Jewelry Fixes- DIY

Since I didn't got to MegaCon over the weekend, here's a quick Jewelry update:
 
The necklace on the [below] right I've had for ages. I didn't wear it often because it didn't lay properly. At over 3' long it wasn't working for me. I took off over 1.5' and now its an adorable bib-style necklace. This isn't the first necklace I've adjusted this way. Such a simple solution!
 
PS Don't discard the remaining links- use them again for another project another day!
 
Next up, a cheap looking, junky and chunky heart pendant. The cute crown tarnished but I held on to it to repurpose. Finally got around to it. The little pink deer is from a pair of earrings, sadly the earring hooks tarnished.


I pried the crown off easily, then sanded down the residue from the epoxy.

Finally, I stacked my pieces on top and super glued them into place.

 
And just like that, without spending a dime, using what I already had- I now have TWO "new" pieces of jewelry. *happy dance*
 
 
Tell me, what have you repurposed lately??

Tuesday, March 5, 2013

Harry Potter Display

 
In case you don't know- I love the Harry Potter series! I have all the books and movies (blu-ray and digital copies). And I have two 'shrines' in the apartment. (this makes me sound a bit like a crazy stalker- not true). I had the good fortune of working at a movie theatre when the last 2 movies were released, so I snagged myself some goodies ;)
 
Somewhat recently, I made a Sorcerer's Stone shadow box. Target had these awesome Christmas ornaments that once I saw it in the after Christmas clearance, I knew immediately I wanted to make something with it- it was just too perfect! So to make your own here's what you need and how to make this super easy shadow box (I'm sure you can apply the idea to many other things!):
 
-One ornament/item you want to display
-One shadow box (deep enough to hold said ornament- I purchased mine at Michael's either on sale or with a coupon for less than $5!)
-Pliers (to aid in removing the top of the ornament)
-Double sided tape/Velcro/strong glue dots
-scrap scrap booking paper
-pen
 
Here it is:
 
 I popped the top right off, it was only plastic:
 

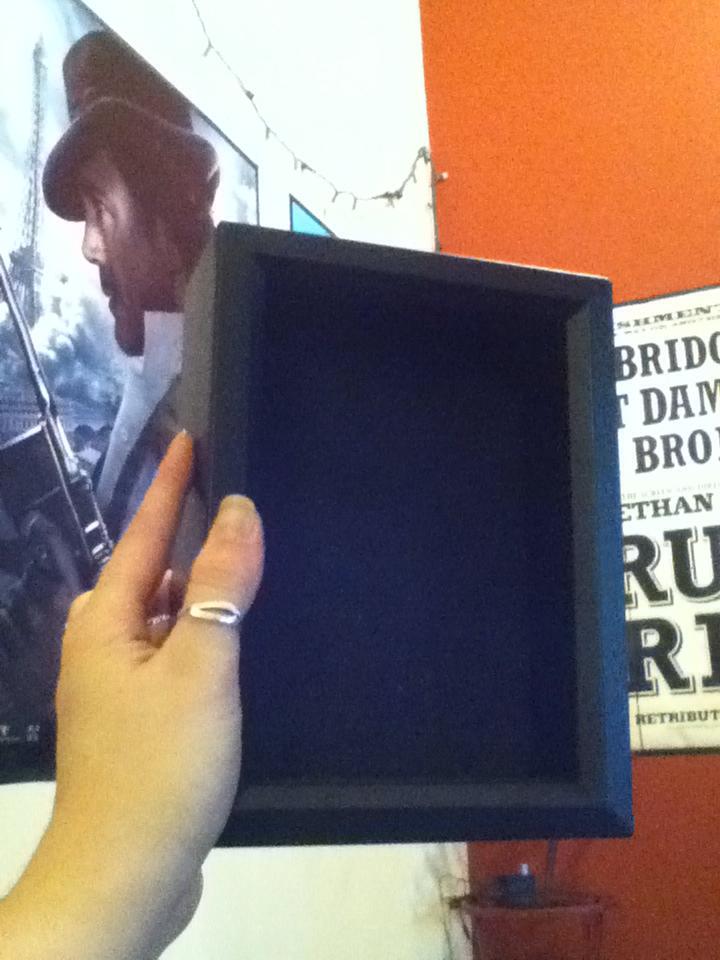
I removed the glass from the shadow box frame, with the glass in, the 'stone' wouldn't fit
 
Originally I thought I might want to put some scrapbook paper in the background, but it was a nice flocked material in the back so I decided it was good without. The shadow box actually came with Velcro! So I placed one side of the strip where I wanted the stone to sit inside the box, and the other piece on the back side of the stone (I added glue dots because the sticky side of the Velcro wasn't enough to hold it in place). The great thing about the shadow box is that you can't see the top of the ornament, so that extra plastic bit on top is well hidden! I then cut a small piece of scrapbook paper and labeled my artifact. =) 


Here, you can see it on the wall with my other Harry Potter things- including an artist rendition of Hogwarts I got at Mega*Con, a Make Love not Horcruxes pottery piece I made, and my friend Kate's drawing of Dumbledore (hes so adorable!!! and SHE will be at Mega*Con in Orlando this month). Below is my theatre swag (including HP 3D glasses still in the bag), my Sirius Black wand from IoA, and Keep Calm and Harry On reminder ;)


Well, I hope you all enjoyed today's tutorial! Coming soon- I tell you about my adventures in sewing!

In the meantime- tell me in the comments if you have a crafty nerdy thing you've done recently!